


How to Install Magento 2 on Ubuntu/Debian?
Magento is a popular e-commerce platform that allows businesses to create and manage their online stores. In this blog, we will guide you through the steps to install Magento 2 on Ubuntu.
Prerequisites
Before installing Magento, you will need LEMP system ready along with other system requirements such as Elasticsearch and RabbitMQ. You may follow these blogs to install all the prerequisites and prepare your system for Magento installation:
- Windows Subsystem for Linux (If you are using a Windows system)
- LEMP (Linux, Nginx, MySQL, PHP)
- Composer
- Elasticsearch
- RabbitMQ
Preparing the Database
As our system is now ready with all the prerequisites, we now need a new database where all Magento related tables, triggers etc. would be created. So, let’s see how it can be done:
1. Connecting into MySQL
mysql -u <username> -p -h <hostname>It will prompt you to enter the password that you might had set during the previous process.
2. Creating the Database
Once you are connected to MySQL, you can use these commands to create a database:
CREATE DATABASE <database_name>;Now, database is created. You can use other tools like phpMyAdmin or Adminer to create and manage database too.
Installing Magento 2.x
Before we start the installation process, you will need authentication keys. Follow this link to create it and store it somewhere.
Now, let’s start with the installation process:
1. Navigate to the directory where you want to install Magento
2. Run this command to download the metapackage of Magento:
composer create-project --repository-url=https://repo.magento.com/ magento/project-community-edition <install-directory-name>For any Specific version of Magento, you can change the above command like this:
composer create-project --repository-url=https://repo.magento.com/ magento/project-enterprise-edition=2.4.3 <install-directory-name>3. Setting the file permissions:
cd <install-directory-name>
find var generated vendor pub/static pub/media app/etc -type f -exec chmod g+w {} +
find var generated vendor pub/static pub/media app/etc -type d -exec chmod g+ws {} +
chown -R :www-data . # Ubuntu
chmod u+x bin/magento
4. Installing Magento:
bin/magento setup:install \
--base-url=http://your-store-url.com \
--db-host=127.0.0.1 \
--db-name=<database_name> \
--db-user=<database_user> \
--db-password=<database_user_password> \
--admin-firstname=admin \
--admin-lastname=admin \
--admin-email=[email protected] \
--admin-user=admin \
--admin-password=<admin_password> \
--language=en_US \
--currency=USD \
--timezone=America/Chicago \
--use-rewrites=1 \
--amqp-host="127.0.0.1" \
--amqp-port="5672" \
--amqp-user="<rabbitmq_username>" \
--amqp-password="<rabbitmq_password>" \
--amqp-virtualhost="/"
Please make sure to replace the values in the above command with the correct ones that you have setup with.
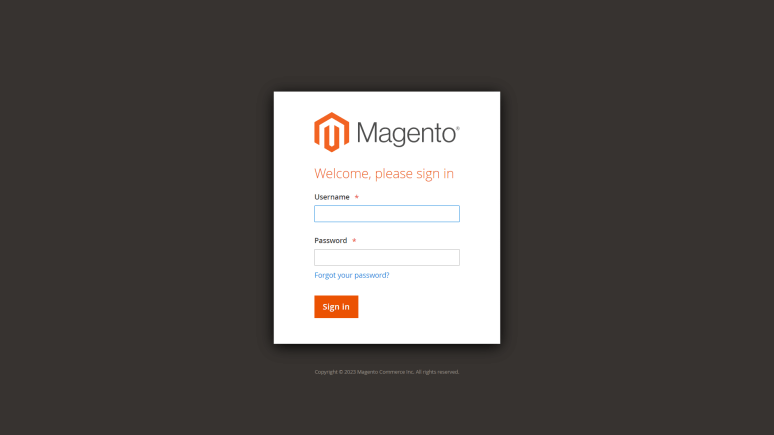
Once the above command is completed, you should be able to access your Magento store URL like this: http://your-store-url.com and the admin panel with such url: http://your-store-url.com/admin

Conclusion:
Congratulations! You’ve successfully installed Magento 2.4 on Ubuntu. By following this step-by-step guide, you’re now ready to unleash the power of Magento and create your own feature-rich e-commerce store. Remember to keep your system up to date and regularly backup your Magento installation for enhanced security and peace of mind. Happy selling!
Reference: Quick start install - Adobe Commerce Developer Guide
About Author

Liked the post, share with others: